
About Us
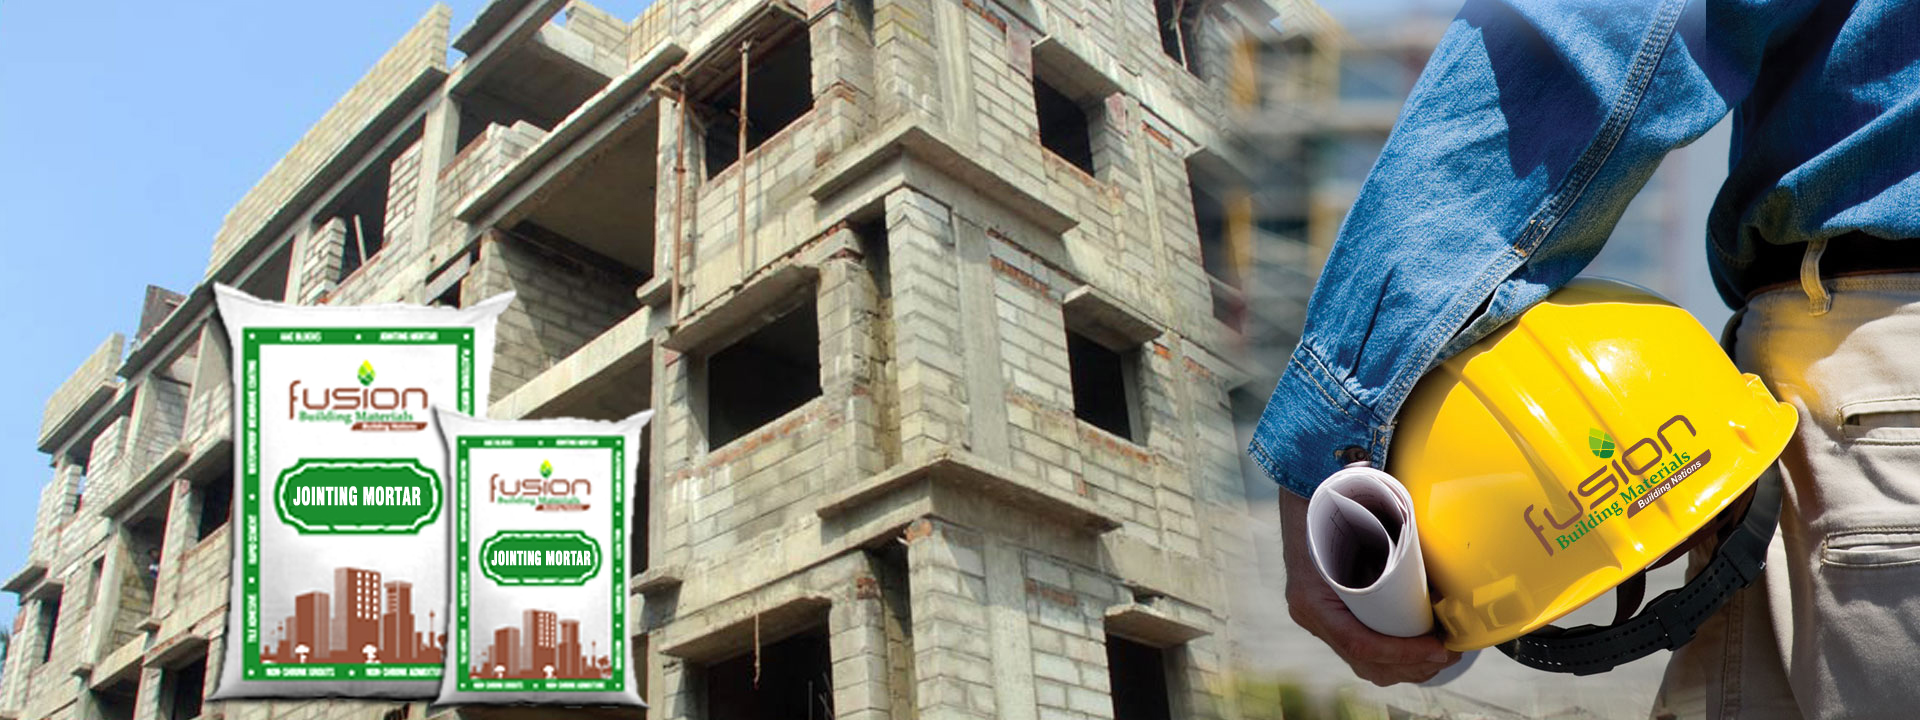
FUSION JOINTING MORTAR
Fusion Mortar (AAC Blocks joining mortar or Thin bed mortar or AAC Blocks Adhesive or AAC Blocks Glue ) is a ready to mix, self-curing cementitious mortar for laying of AAC Blocks, CLC Bricks, Hollow concrete blocks and bricks.
It’s a factory made premixed mortar blended with carefully selected raw materials such as graded sand, mineral binders and ordinary Portland cement (OPC) in combination with selected polymeric additives which help in providing mechanical bond and adhesion between the blocks and block to surface.
Designed for use with water to produce high strength thixotropic mortar, Fusion Mortar is manufactured by following strict quality norms and is in compliance with C 1660-09 ASTM standards (www.astm.org), a worldwide standard followed for thin bed mortar for autoclaved aerated concrete masonry that meets the requirements of National and International standards.

Advantages
KEY FEATURES
- Highly suitable to AAC blocks : Since low water absorption per cubic metre of AAC material ultimately cause drying up of conventional mortar on application. This leads to separation at joints if not provided on time curing. While in case of Cure free thin bed mortar no such a dry shrinkage is observed.
- High Strength (Tensile Splitting Strength): Optimally polymerized Fusion Mortar provides additional bonding strength apart from the mechanical sand-cement bonding due to hydration retainer compounds which gives solid robust wall with long lasting durability.
- Self Curing : No curing required after block work is done, thus saving critical resources like water.
- Flexible : Improved Workability: due to added polymers it results in improved quality, water retention.
- Less Storage Space : Fusion Jointing Mortar is ready to mix product there by eliminating need for bulk storage of sand and cement.
- Construction Accuracy : Due to measured application and thin bed, the wall construction is accurate.
- Fast Construction and Higher Productivity : Fusion Jointing Mortar is a timely setting mortar which allows uninterrupted block mounting, which is far lower in time than conventional and ordinary mortars. Combined with qualities of good workability, spread of material and no need of curing, Fusion Jointing Mortar increases speed of construction – only 24 to 48 hrs required before next stage like plastering.
- Withstand Hammering and Chiseling : Fusion Jointing Mortar is able to withstand the hammering and chiseling required to be done for window, door frames and conducting for electrical wiring after 48-72 hours.
- ASTM Complaint : It is specially formulated and tested to be in compliance with ASTM C 1660 -09 and gives the confidence to the consumer of a product based on researched standards.
TECHNICAL SPECIFICATIONS
- BASE: Cement with modified polymer powder
- COLOR: Grey powder
- POT LIFE: Approximately 2hr 28oC
- DENSITY: 2.0 gr/cm3
- WATER DEMAND: 12 to 13 Liters per 40Kg bag
- SELF-CURING: Yes
- TENSILE ADHESION STRENGTH: 1.0 N/mm2
COVERAGE
- Coverage* (walling area) from 40 Kg Bag considering 3 mm joint thickness
- 100 mm thick wall: 166 Sq Ft
- 125 mm thick wall: 132 Sq Ft
- 150 mm thick wall: 110 Sq Ft
- 200 mm thick wall: 83 Sq Ft
- 225 mm thick wall: 72 Sq Ft
- (* Assuming Fusion AAC Block length = 600 mm and Depth = 200 mm)
AREA OF APPLICATION
- For interior and exterior use for fixing AAC Fly ash, CLC, Hollow, concrete blocks & bricks.
- Parapet walls and jointing of cement windows and doors.
- Jointing of panels and pre-stressed concrete slabs.
- Boundaries and garden walls.
Comparison Of Fusion Mortar With Traditional Mortar
| Parameters | Traditional Mortar(Cement & Sand) | Fusion Mortar |
| Cost Comparison | Cement (0.5 kg @ Rs 330 per bag) = Rs. 3.3 + Sand (0.045 cft @ Rs 30.5 per cft) = Rs. 1.37 Total = Rs. 4.67 per sq. ft. |
Approx. Rs. 3.60/sq. ft |
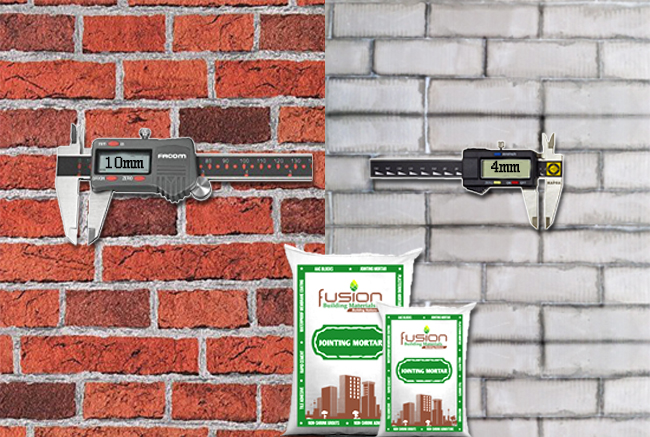
| Joint thickness | 10 mm – 15 mm | 3 to 4 mm |
| Plastering possible | Minimum 7 days curing required | After 24 hours |
| Drying time | Slow | Rapid |
| Setting time | Slow | Rapid |
| Height of build | Restricted | No Restriction |
| Precision | Less | More |
| Air tightness | Less | More |
| Strength | Joints are weak points | Joints are stronger |
| Shrinkage | More shrinkage cracks | No |
| Stability | Less Stable | More Stable |
| Material storage | More | Less |
| Aesthetics | Uneven, with variations | Even and better laying |
SURFACE PREPARATION
- The base surface should be properly cured prior to application of Fusion Jointing Mortar
- The surface must be cleaned thoroughly, with no loose particles or dust.
- The surface must be structurally sound, clean and free from dirt, oil, grease, efflorescence and any other contaminant which could impair the natural bond.
- Surface defects such as cracks, holes or voids should be repaired prior to application
MIXING
- It is very important that Fusion Jointing Mortar is mixed with water properly and thoroughly before use. It is advisable to use a mechanical stirrer for uniform and thorough mixing to save time, labour and for maximum workability.
- Take a clean vessel/bucket, add water to it and put required quantity of Fusion Jointing Mortar in it.
- Mixing Ratio – Clean potable water (approximately 25%-30%) of the weight of the powder is required to be mixed depending upon the thickness of the product to be applied. Water is to be incrementally added in stages to get a smooth, uniform and workable mix. Allow ample of time for initial mixing.
- Ensure that no powder is left unmixed at the bottom of the vessel. The Fusion Jointing Mortar is now ready for application.
BLOCK LAYING
- The first course of blocks are always laid in thick bed mortar mix made of 1:4 (by volume) cement: sand added to it a bonding agent @ 10% of water with a thickness of levelling bed is ½” to 2”. This serves as a leveling pad for the first course of blocks. Care must be taken at this stage to ensure the blocks are plumb and level so further construction up to ceiling height will be fast and accurate. Corner blocks are laid first and the first course should be completed before second course installation.
- The specially separated scoops ensure a mortar bed of 3 to 4 mm with minimum effort. Choose the correct width of scoop to suit the blocks thickness. For wider blocks, two or more lines of mortar may need to be applied using a narrow scoop.
- Fill the scoop with mortar and hold the scoop at an angle so that the wings of the scoop are not against the block.
- Wiggle scoop as you go up or along the bed face to ensure good coverage across the face. Rinse the scoop in water to prevent build-up & clogging.
- All mortar joints and perpends must be fully filled.
- Present a mortared perpend to a dry perpend and tap firmly into position with a rubber mallet
- Tap the block firmly with rubber mallet to get a tight fit between the blocks & clean off excess mortar squeezed out of the joint.
- Check for horizontal and vertical level and adjust as necessary. The mortar begins to adhere strongly after approximately 5-10 minutes!
© Copyright 2021 Fusion Mortar. All Rights Reserved